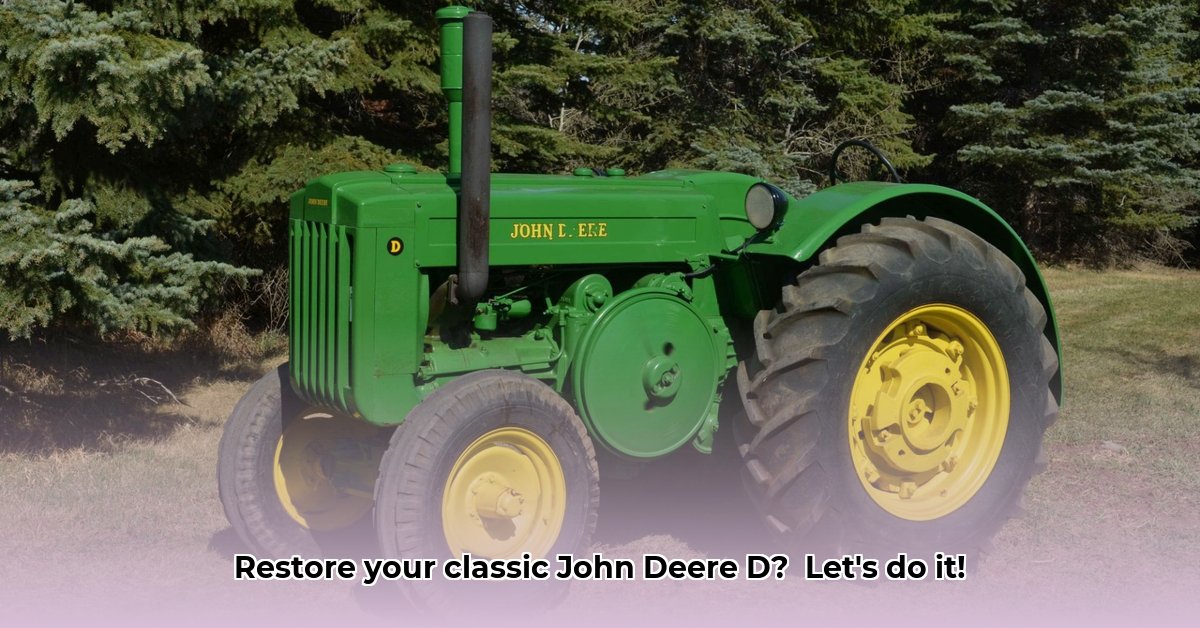
Bringing a classic John Deere Model D tractor back to life is more than just a restoration; it's a journey into agricultural history and a commitment to sustainable practices. This guide provides practical steps and insights to help you revitalize this iconic machine. Did you know the Model D's robust design contributed significantly to the mechanization of American agriculture? For additional accessories, check out this helpful resource: John Deere Parts.
Assessing Your John Deere Model D Tractor: The First Steps
Before you begin, thoroughly inspect your potential Model D. Consider it a pre-purchase health check. Document everything: rust levels (surface or deep?), missing parts, and any broken components beyond simple repair. High-resolution photos are invaluable. Detailed notes are crucial—record every detail, no matter how minor. If you lack experience, a vintage tractor mechanic's pre-purchase inspection might save significant time and money later. Remember, thorough preparation is key – a stitch in time saves nine!
Finding the Right Parts: A Sustainable Approach
Locating parts for a Model D may feel like a treasure hunt. Several resources can help: online forums for classic tractor enthusiasts offer invaluable connection points and part leads; specialized vintage tractor suppliers provide another avenue. Don't overlook similar John Deere models; parts might be adaptable. Prioritize repurposing and using reclaimed components—this is where the sustainability shines. Instead of always seeking "New Old Stock" (NOS) parts, explore reconditioned or salvaged components. This eco-conscious approach reduces waste and costs. Finding the right parts requires patience – it's often a journey as rewarding as the restoration itself!
Part 1: Disassembly and Cleaning: A Step-by-Step Guide
This phase demands methodical work and precision.
- Gather Your Tools: Assemble necessary tools, safety glasses (essential for eye protection!), work gloves, and biodegradable cleaning supplies.
- Meticulous Documentation: Before removing any part, photograph it! Label and carefully store each component; small parts vanish quickly.
- Systematic Dismantling: Remove easily detachable parts first. Proceed systematically, carefully labeling and organizing everything.
- Thorough Cleaning: Use appropriate solvents and brushes to clean each component thoroughly. For stubborn rust, electrolysis or chemical rust removers work well. Rinse and dry completely before proceeding.
- Comprehensive Inventory: Create a detailed list of all cleaned components. This comprehensive inventory is crucial for ordering replacements or finding compatible alternatives.
Part 2: Repair and Restoration: Addressing Common Issues
This stage requires patience and precision. Consult your repair manual frequently; it's your guide. If you encounter problems, don't hesitate to seek help from a vintage tractor expert or mechanic. Remember, safety is paramount; always follow recommended safety protocols.
Here's a table outlining potential problems, repair techniques, and sustainable alternatives:
| Part | Common Issues | Repair/Restoration Techniques | Sustainable Alternatives |
|---|---|---|---|
| Engine | Worn pistons, leaky seals, cracked block | Piston replacement, cylinder reboring, seal replacement, repairing or replacing the block | Sourcing used, reconditioned parts; exploring repair methods minimizing material waste. |
| Fuel System | Leaking carburetor, fuel lines, clogged filters | Rebuilding or replacing the carburetor, replacing fuel lines, cleaning or replacing fuel filters | Repurposing fuel lines if feasible; using bio-based fuel additives where applicable. |
| Electrical System | Corroded wiring, faulty components, bad ignition switch | Rewiring, component replacement, installing a new ignition switch | Using reclaimed or environmentally friendly wiring; considering component rebuilding where possible. |
| Transmission | Worn gears, leaks, faulty synchronizers | Replacing worn gears, seal repair/replacement, synchronizer repair or replacement | Sourcing used gears from reputable sources; using specialized repair compounds for leaks. |
Part 3: Reassembly and Testing: The Final Steps
Reassembly is the reverse of disassembly. Your photos and notes are invaluable. Double-check all connections and tighten bolts to the correct torque. Once complete, test the fuel system, engine, and transmission. Address any issues before a field test.
Conclusion: A Rewarding Journey
Restoring a John Deere Model D tractor is a challenging yet deeply rewarding project. It preserves agricultural history, provides valuable mechanical experience, and promotes sustainable practices. The accomplishment of seeing your restored Model D running smoothly outweighs the challenges. It's a labor of love with immeasurable rewards. Isn't the satisfaction of preserving a piece of history and contributing to sustainable agriculture worth the effort?